The clocks have gone back an hour and the temperatures are rapidly descending, and while I’m more than ready to welcome all things cozy in the form of sweaters, soups, and holidays, I still find myself reminiscing about our honeymoon this past June. Our time on the Amalfi Coast was utterly perfect and full of adventure, relaxation, romance, decadence, and plenty of fun.


 Fortunately, there’s one souvenir (besides paintings and photographs) from our fun that I can make a fairly regular part of our daily lives, even in the cold. We were lucky enough to have a private cooking class with the incredibly talented women behind Donna Rosa. It was a morning and afternoon packed with food, drinks, giggles and fun. Our new friends are exactly what you would expect of famed Italian hospitality.
When we arrived at their bastion of fine Italian cooking, tucked along Montepertuso, Erika, Rosida and Mama greeted us warmly and led us through their cozy, yet elegant, restaurant. The restaurant is a local (and global) favorite for inventive fine Italian dining, with fans throughout Italy and beyond, like Jaimie Oliver and Ina Garten. Before Jordan and I knew it, we were well equipped with aprons, coffee, and fresh homemade cornetto–the Italian answer to croissants. We learned a ton of fabulous recipes and techniques thanks to Erika’s mastery and Rosida’s rapt but humorous attention. In an attempt to relive just a taste of our fun, I decided to share one of their recipes! Below is a tutorial for a simple dish that could accompany a large dinner or, in my opinion, make a perfectly acceptable main dish for a cozy but easy meal!
Involtini Di Melanzane from Donna Rosa
You’ll need:
- Several long and thin eggplants, tops and outer skin removed
- Salt
- Peanut oil
- Mozzarella, cut into small rectangles and refrigerated to dry a bit ahead of time
- Fresh basil
- Fresh grated parmesan cheese
- All purpose flour
- 1/3 cup olive oil
- 1 garlic clove
- 28oz can San Marzano tomatoes, pureed in a food processor
- Thinly slice the peeled eggplants using a mandolin slicer. Layer them in a colander and lightly sprinkle salt on each layer to help reduce the water content of each slice. Let the eggplant drain in the sink for about 30 minutes, until the eggplant slices are “limp”. This is an old school trick to keep the eggplant from having a “bitter” taste.
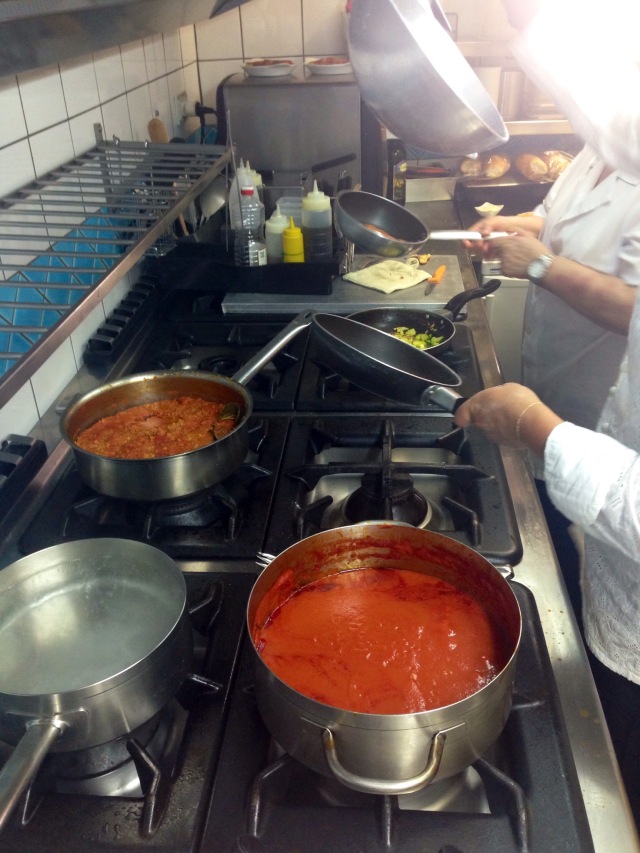
- While you wait for the eggplant prepare the sauce. In a medium saucepan, add the extra virgin olive oil and briefly sauté the sliced/chopped garlic. When lightly golden, add pureed San Marzano plum tomatoes. Cook at low heat for 15 minutes and set aside.
- Remove the excess water and salt from the eggplant slices by gently squeezing each slice between two fingers like a squeegee. Dry the slices on paper towels. In a bowl, pour the flour and allow the slices of eggplant to have flour on both sides, removing the excess by moving it with two fingers
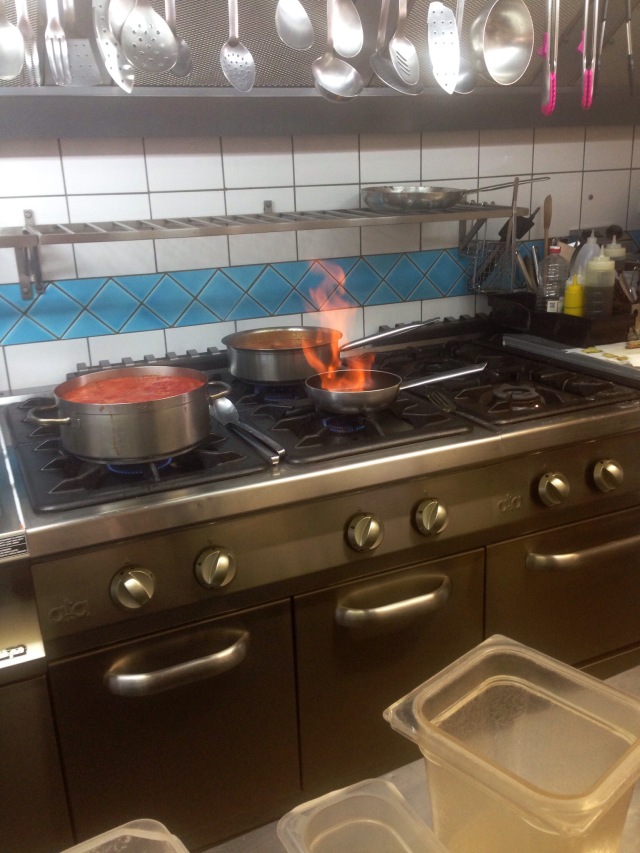
- In a large saucepan, pour about 1″ peanut oil and heat until it’s very “hot”. Gently drop the slices of floured eggplant in the hot oil, gradually, without crowding the pan and remove the slices when lightly browned, but still pliable. The goal isn’t to make them crispy. Place them on paper towels to drain.
- Lay slices of fried eggplant on a working surface. Sprinkle fresh grated parmesan cheese on all pieces. Place a piece of the dried mozzarella and a small piece of basil at one end of each eggplant slice and roll toward the opposite end. Repeat until done, placing the rolls in the baking pan.
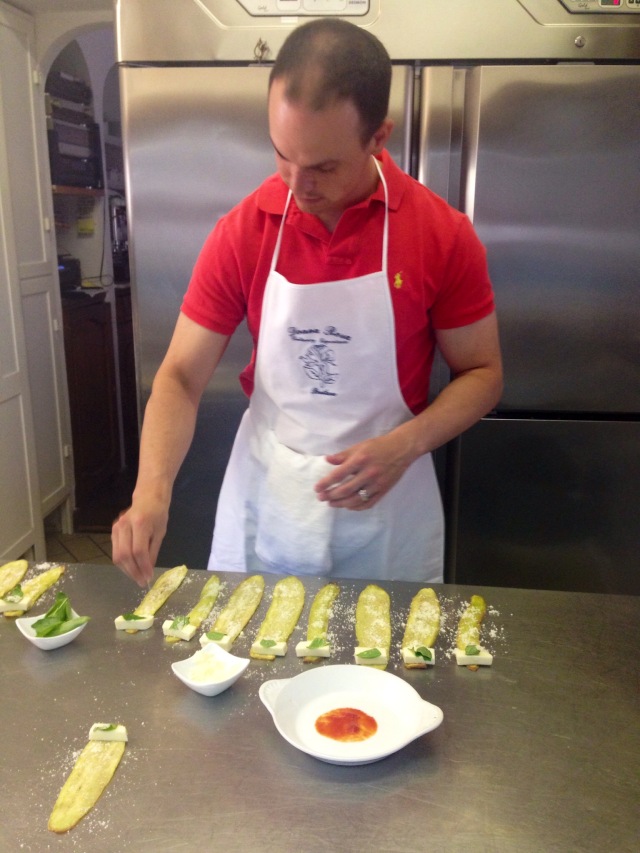
The best husband, ever.
- Heat the oven to 350° F
- Spoon tomato sauce over each roll and bake until the cheese is melted and the sauce is bubbly. Remove from the oven and sprinkle fresh grated parmesan cheese and fresh basil on top of each roll. Serve immediately.


Ta-da!
It’s really an exceedingly simple dish, but satisfying enough to make a meal! It’s truly rare that a chef shares their best family recipes, so I hope you enjoy this treat as much as we (and all the fans of Donna Rosa) do! If you ever have the opportunity to dine at Donna Rosa, it is undoubtedly worth the time, money and effort!
Also, suggestion: spend the rest of your evening on the balcony with wine….sending helpful snapchats while a little buzzed and full of food!


